A Brief History of Computed Tomography and How CT Services Benefit Industrial Clients
ATS performs a variety of CT services to help our clients determine the condition of their components or subassemblies. Computed Tomography (CT) was initially introduced as a medical imaging tool in the 1970s. The scanner consists of an X-ray projector mounted across from a DR imaging panel on a rotating axis. As the projector revolves around the subject and takes X-rays, the imaging panel picks up the raw data from those projections and sends it to the computer. That raw data is transformed into an actual image through a process called tomographic reconstruction. The image that is produced will show a cross-sectional view of the subject as if it had been cut through a chosen plane of section — perfect for looking at a patient’s brain in a non-invasive manner.
Technicians can then assemble all of the CT images together in order to create a single 3D model, which is easy to manipulate and study. Because the model is made up of so much data from so many reference points, a CT scan produces a clearer and more precise image than traditional radiography methods. CT services now represent a valuable diagnostic tool for doctors looking for things as small as a tumor or internal bleeding.
Industrial Computed Tomography
CT services offer various advantages over other imaging methods. Radiography, for instance, only produces a single 2D image with less visual clarity. A CT scan can produce several thousand 2D images compiled into one 3D model. This difference means that a CT scan of an object (as well as features such as cracks) can be measured by volume. 3D inspections, on the other hand, lack the ability to look beneath the surface of the test material — while they may render similar amounts of detail, a CT inspection is able to locate and even highlight imperfections below the surface, unlike a 3D Scan.
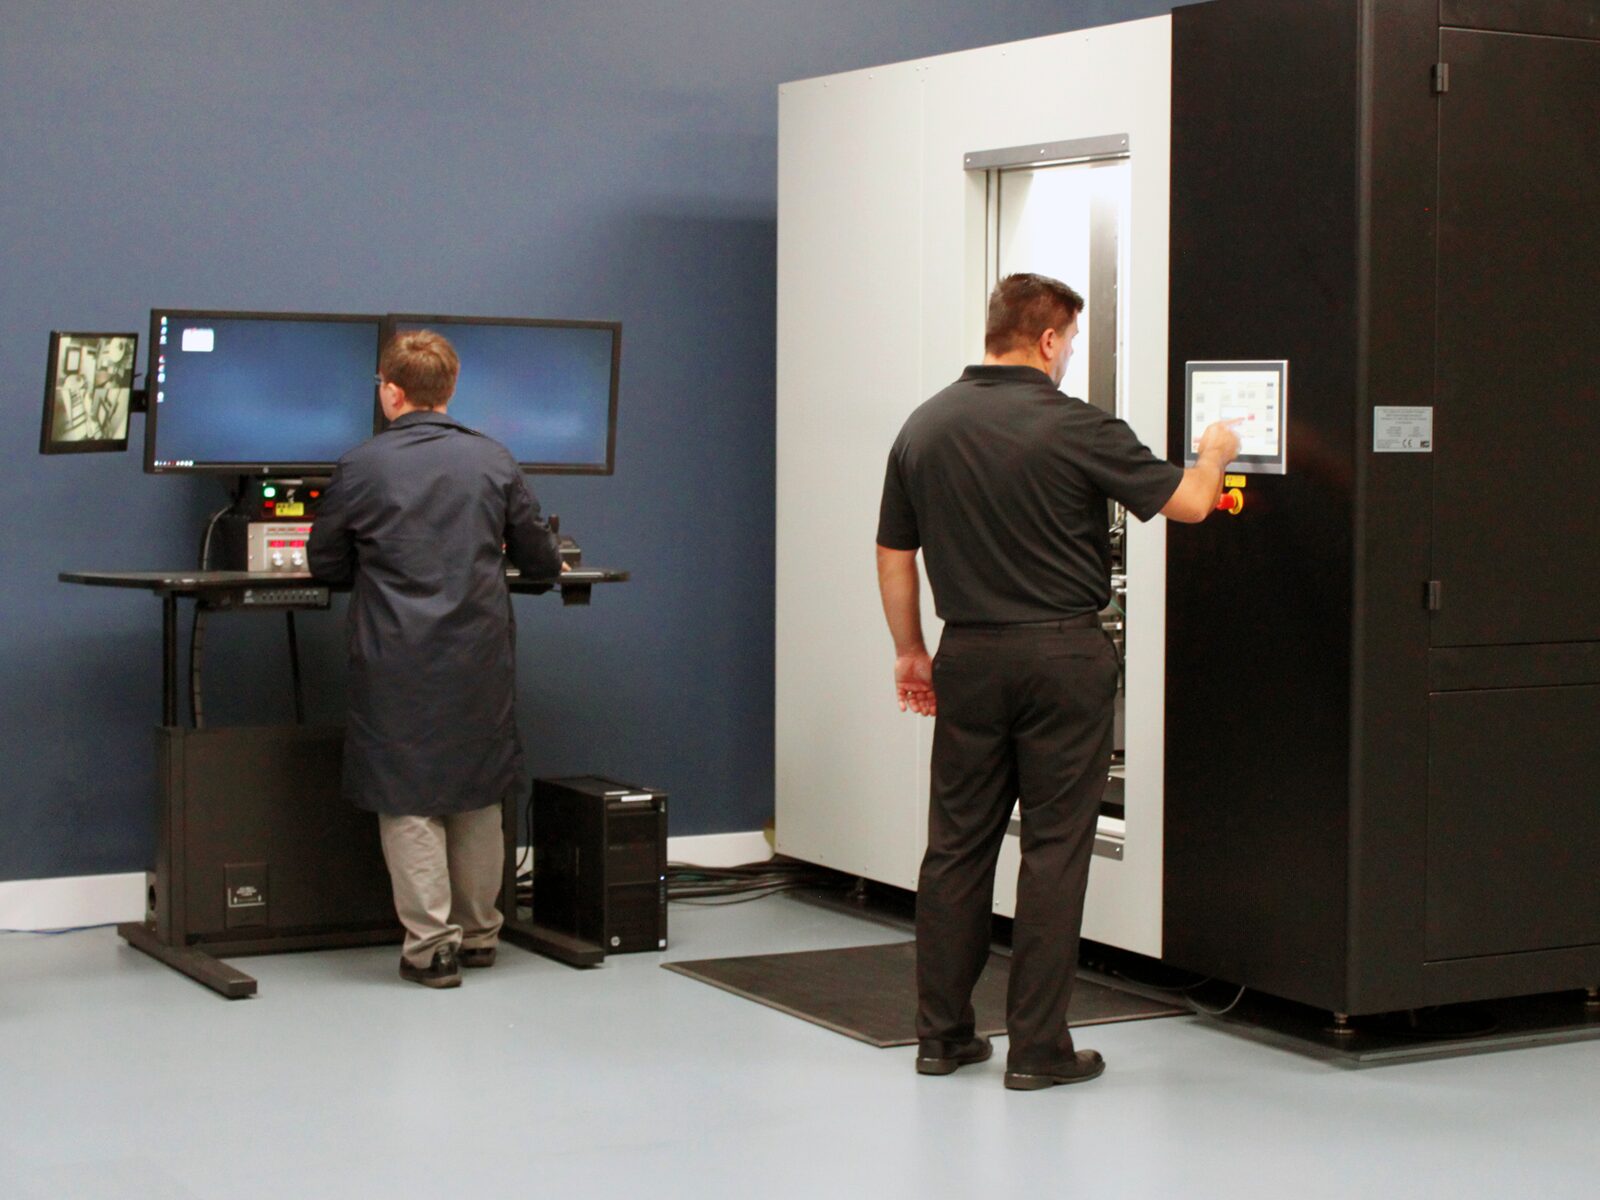
Versatility is another benefit afforded by CT scanning. This one method can yield results that could only be found through multiple tests otherwise. One CT scan can take thickness measurements, locate structural flaws, and measure features volumetrically. This efficiency means a faster turnaround for clients. Our technicians achieve this combination of precision and versatility through the use of our advanced industrial CT equipment:
- Northstar Imaging X5000
- Minifocus 450kV X-ray projector (0.016” Focal spot at 3mA)
- Dual energy capability with 225kV Microfocus X-ray Machine
- Can achieve focal size as low as 0.0002” (based on voltage)
- Multi-Axis Manipulator (x, z, tilt, rotation), capable of supporting max 250 lb
- Resolution of manipulator angle is 0.001°
- Capture elongated subjects unable to fit within a single exposure by scanning with a spiral acquisition
- Minifocus 450kV X-ray projector (0.016” Focal spot at 3mA)
- Zeiss Metrotom 1500, with a 225kV micro-focus
- Chamber fits specimens up to 11.75 in (300mm) in diameter x 23.6 in (600mm) high. 50 kg (110 lb) weight limit.
- Annual A2LA calibration
- Certified to accuracy within 4.5 microns
ATS’ CT Capabilities
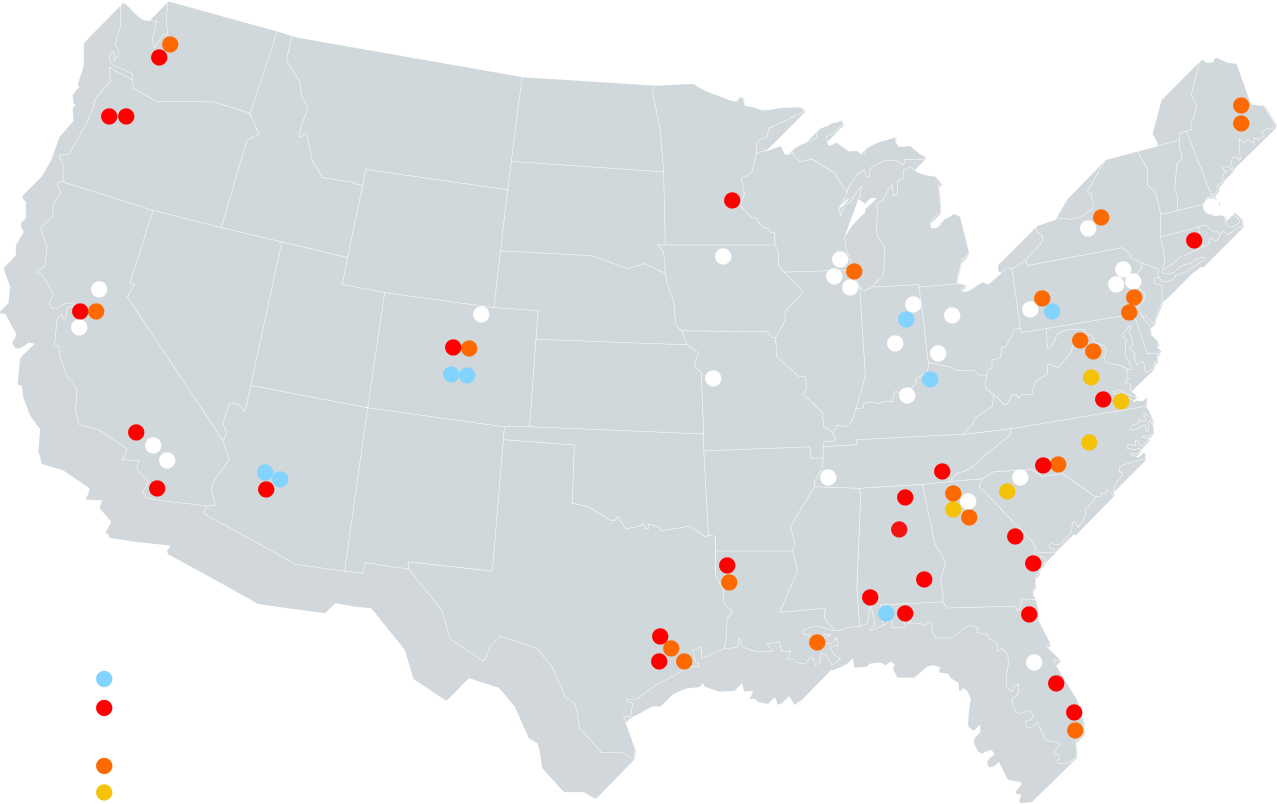
For years, this technology was impractical for industries outside of the medical sector. With recent developments in related technology however (faster computers with more processing power, increasingly sensitive DR imaging panels, etc.), some inspection companies are finding it feasible to offer industrial CT scanning as a non-destructive testing method. However, since this technology is relatively new to the industrial inspection community, very few companies are currently providing CT services. Applied Technical Services, LLC is one of those few, with CT scanners located in two of our southeast locations.
ATS has delivered world-class engineering, consulting, testing, and inspection services for over 50 years. Our technicians are committed to reporting the most accurate and relevant analyses to our clients in a timely manner. We produce dependable results; let us handle your non-destructive testing needs today.


