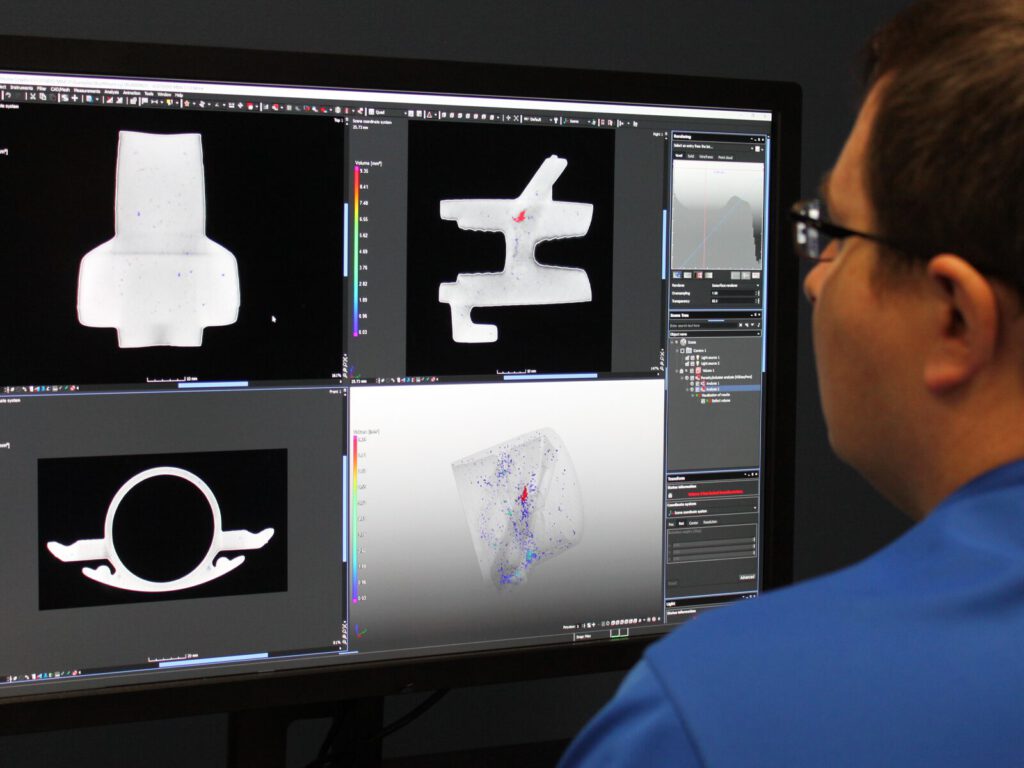
ATS provides precision Computed Tomography (CT) imaging and metrology services to its clients, using our 225kV micro-focus Zeiss Metrotom scanner. This instrument is optimized for high resolution and calibrated measurements.
What is CT?
Computed Tomography is an imaging process that captures and compiles a series of X-rays to render a 3D model of objects, both inside and out. Individual projections create a cross-sectional image of the object as if it had been perfectly cut through your chosen plane of section. The process, which functions much like when a doctor takes a CAT scan of a patient’s brain to look for abnormalities, renders a highly-detailed perspective that allows for unparalleled diagnostic analysis of the object. Even the most minor of structural flaws can be measured for repair or rendered large for study. Multiple X-ray images can be arrayed to create a single, three-dimensional model for a more in-depth consideration.
Industries Serviced:
- Aerospace
- Automotive
- Construction
- Forensic / Legal
- Investigations
- Manufacturing
- Military
- Pharmaceutical
- Power Generation
- Pulp and Paper
CT Allows for New Possibilities in Nondestructive Testing
- Joints previously unable to be X-rayed can now be imaged with CT
- Complicated shapes are no problem
- Greater detail than older imaging methods
- Tons of information from multiple images make up one model
- Can pick up minuscule structural imperfections
- Take 3D measurements of flaws in assemblies, castings, additive manufactured parts, forgings, etc.
- Extremely accurate
- Measure internal parts without destructive testing
- Micron-range calibrated measurements
- Complements additive manufacturing
- New NDT techniques that adjust to new manufacturing methods
- Both part-to-CAD and p2p comparisons
- Helps in generating CAD data
- Great for reverse-engineering
- Can be used for geometric dimensioning and tolerance (GD&T)
- Measure GD&T for quality control
- Rapid prototyping of internal components
- Don’t have to make a CAD from scratch
- Helps in generating CAD data
- Allows for nondestructive assessment of cracks and porosity
- Optical measuring capabilities due to precision of scan
- X-ray component eliminates cross-sectioning requirement to detect internal cracks or porosity
- Ability to highlight and sort flaws according to size, shape, location, etc.
- Use in refining other testing procedures
- Pre-imaging to best determine where to segment sample for other metallurgy methods
- Post-testing imaging to assess results
CT Benefits
These unprecedented benefits greatly improve quality control and preventative maintenance efforts by our clients, giving them more detailed and earlier insight into potential issues. Knowing that critical parts are standard-compliant down to the most minute measurements affords companies a greater confidence and peace of mind. ATS supplies that to our clients with our industry-standard CT equipment:
- Zeiss Metrotom 1500, with a 225kV micro-focus
- Annual A2LA calibration
- Certified to accuracy within 4.5 microns
- Chamber fits specimens up to 11.75 in (300mm) in diameter x 23.6 in (600mm) high. 50 kg (110 lb) weight limit.
- Annual A2LA calibration
- Northstar Imaging X5000
- Minifocus 450kV X-ray projector (0.016” Focal spot at 3mA)
- Dual energy capability with 225kV Microfocus X-ray Machine
- Can achieve focal size as low as 0.0002” (based on voltage)
- Multi-Axis Manipulator (x, z, tilt, rotation), capable of supporting max 250 lb
- Resolution of manipulator angle is 0.001°
- Capture elongated subjects unable to fit within a single exposure by scanning with a spiral acquisition
- Minifocus 450kV X-ray projector (0.016” Focal spot at 3mA)


