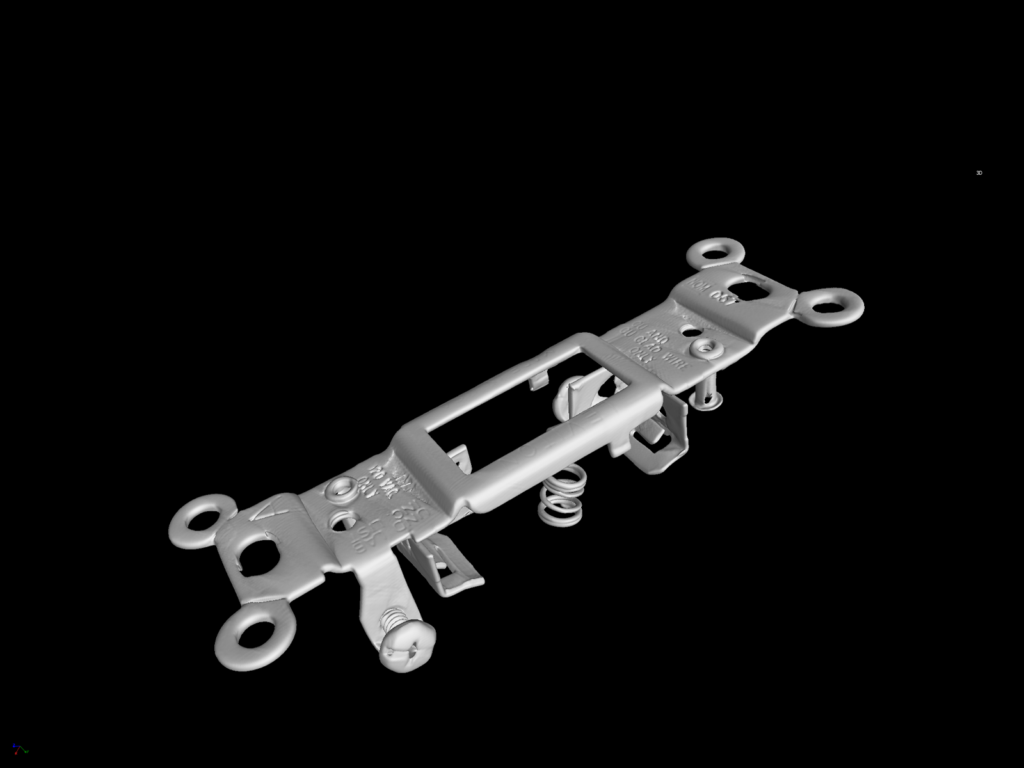
ATS’ CT inspections help clients assess both the external and internal condition of their components and subassemblies for a variety of applications.
How Computed Tomography Works
Computed Tomography (CT) has been widely used in the medical field for decades. It uses X-rays to produce an image of the patient as if they had been cut through the chosen plane of section. An X-ray projector rotates around an axis, taking projections of the patient from every angle, which are picked up by the DR imaging panel mounted opposite from the projector. The raw data from that process is converted by a computer into an image that can be interpreted through a process called tomographic reconstruction. Each projection is taken at a different angle, and every image shows a grayscale, cross-sectional view of the subject.
All of the projections can be assembled by a computer into a single, 3D cross-sectional image, easily studied and manipulated. The wealth of data used to produce such a model affords an amount of visual detail reliable enough to render microscopic tumors in a patient.
Due to recent developments in complementary equipment (computers with greater processing power and speed, increasingly sensitive DR imaging panels, etc.), this same diagnostic tool indispensable to doctors has become practical for use in industrial inspections.
A Case for Using Industrial CT as an Inspection Tool
This is an exciting development because of the strengths that CT inspections have over other types of non-destructive test techniques.
CT scans, for instance, provide a clearer image and greater versatility than traditional radiography inspections. The amount of detail rendered by a CT scan completely eclipses the grainy quality produced by film radiography. The fact that CT inspections yield a 3D model is also a noteworthy advantage over radiography; measuring flaws such as cracks or voids volumetrically is of great benefit to technicians trying to diagnose an imperfection in the subject. Technicians may even use a program to animate the model in concert with its neighboring components to simulate and assess the stresses on the test subject in its live-usage capacity.
While 3D scanning inspections can offer similar levels of precision and the feature of volumetric measurement, they cannot peer below the surface of the subject. Failure analysis performed on a part, for example, can hardly be considered complete without examining its internal components for weaknesses and flaws. The only way that 3D inspections could analyze the interior of a subject is if that subject had physically been cut open. CT inspections, naturally, do not suffer from this limitation.
Furthermore, CT scans fulfill a variety of testing needs with the use of one inspection. It can analyze internal components like a Computerized Digital Radiography inspection, measure coating and surface thickness like an Ultrasonic Thickness test, and measure features volumetrically like a 3D scanning inspection. Comparing the CT rendered model of the part to its CAD model makes finding structural flaws simple, and using the rendered model can help in generating CAD data useful for measuring geometric dimensioning and tolerances.
Our CT Equipment
ATS’ world-class technicians perform this method using advanced industrial CT technology, including the following:
- Northstar Imaging X5000
- Minifocus 450kV X-ray projector (0.016” Focal spot at 3mA)
- Dual energy capability with 225kV Microfocus X-ray Machine
- Can achieve focal size as low as 0.0002” (based on voltage)
- Multi-Axis Manipulator (x, z, tilt, rotation), capable of supporting max 250 lb
- Resolution of manipulator angle is 0.001°
- Capture elongated subjects unable to fit within a single exposure by scanning with a spiral acquisition
- Minifocus 450kV X-ray projector (0.016” Focal spot at 3mA)
- Zeiss Metrotom 1500, with a 225kV micro-focus
- Chamber fits specimens up to 11.75 in (300mm) in diameter x 23.6 in (600mm) high. 50 kg (110 lb) weight limit.
- Annual A2LA calibration
- Certified to accuracy within 4.5 microns
ATS: Your Trusted CT Scanning Provider
The abundant advantages mentioned above make CT scanning a highly sought-after inspection method. Most inspection companies are not yet offering this service, but Applied Technical Services is one of the few that does. For over 50 years, ATS has provided engineering consultation and inspection services to its satisfied customers. Our talented and certified technicians dedicate themselves to giving clients valuable insight by providing the most thorough analysis available for their critical equipment parts.
Call +1 (888) 287-5227 to learn more about our computed tomography capabilities.


