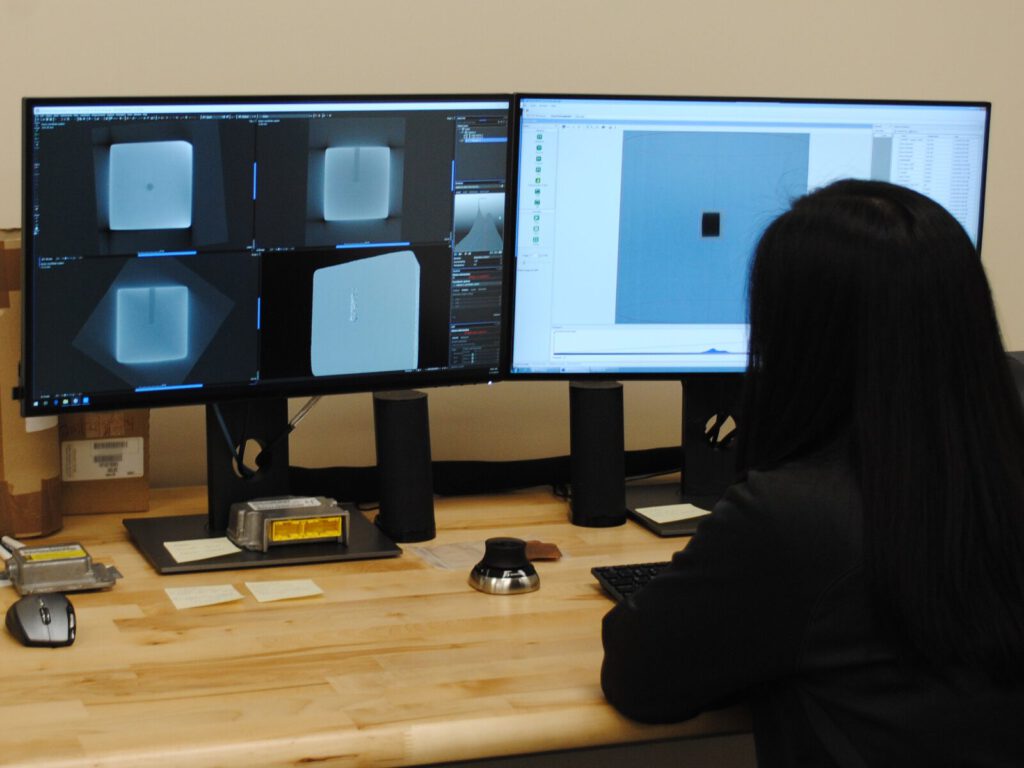
Manufacturers, litigants, and industrial clients all benefit from ATS’ expert NDT CT services. Nondestructive testing (NDT) is an analysis discipline that evaluates the properties of a component or material without damaging or otherwise impacting its structural integrity. NDT examines a subject’s surface and/or sub-surface characteristics to determine its condition and detect flaws. Technicians may use NDT methods to look for seams, cracks, weld defects, laminations, or tears. Because NDT tests products in a way that leaves them intact, it is a cost-effective method of testing, naturally suited for:
- Quality Control: verifying that products are within the standard geometric tolerances outline in their design specifications
- First Article Inspection: validating production methods by searching for flaws and assessing material/component defects
- Reverse Engineering: deriving a set of design specifications from precise measurements and material identification of an existing sample
- Failure Analysis: determining the cause behind a material or component failure by assessing its failure mode
Computed Tomography in NDT
Computed tomography, or CT, is a form of NDT based on radiography. During a CT inspection, a technician places an object into a chamber outfitted with an emitter that emits X-rays from a multitude of different angles. The detector, mounted opposite, captures the energy that hits the subject as data. Next, a computer converts this data into thousands of cross-sectional images through a process called tomographic reconstruction. A technician can then compile that image set into a 3D model of the object.
CT’s versatility gives it an advantage over other forms of NDT, such as 3D scanning. 3D inspections cannot look beneath the surface of its test materials, whereas CT allows our technicians to locate imperfections below the surface and measure such features volumetrically. Computed tomography addresses more concerns with fewer tests than many comparable forms of NDT.
NDT CT Services by ATS
Since 1967, Applied Technical Services has built a global reputation in the nondestructive testing market. We have followed the development of CT as a cost-effective NDT method and offer competitive prices for our scanning services. Our technicians use advanced industrial CT instrumentation, which includes:
- North Star Imaging X5000
- Minifocus 450kV X-ray projector (0.016” Focal spot at 3mA)
- Dual-energy capability with 225kV Microfocus X-ray emitter
- Focal size as small as 0.0002” (determined by voltage)
- Multi-Axis Manipulator (tilt and rotation, x, z), able to support 250 lb max
- Resolution of manipulator angle is 0.001°
- Can use spiral acquisition to capture elongated subjects that otherwise cannot fit within a single exposure
- Minifocus 450kV X-ray projector (0.016” Focal spot at 3mA)
- Zeiss Metrotom 1500 equipped with 225kV micro-focus
- Annual A2LA calibration
- Certified to an accuracy within 4.5 µm. Chamber allows items up to 300mm (11.75 in) in diameter x 600mm (23.6 in) high, at a weight limit of 50 kg (110 lb)
Our technicians’ experience, professionalism, and decisive responsiveness have earned us a top reputation in the NDT industry. Allow us to assess your equipment’s critical components with our comprehensive NDT CT services.


