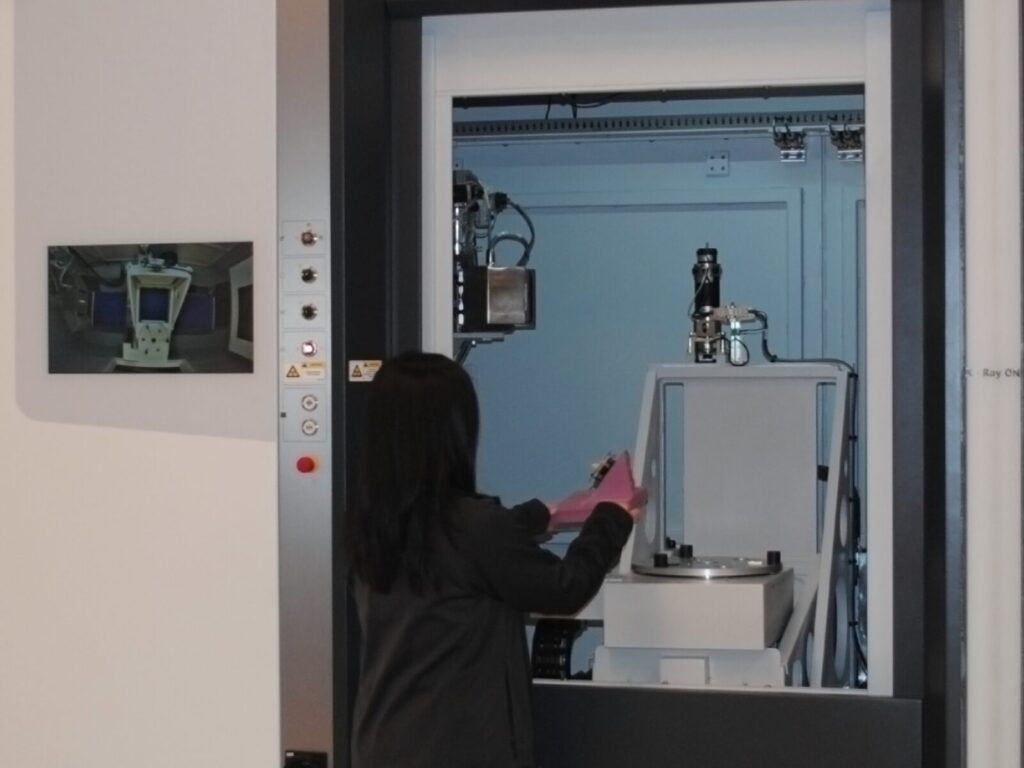
Applied Technical Services performs industrial CT scanning to help clients in a variety of applications, including thickness measurements, flaw detection and analysis, dimensional inspection, and porosity analysis.
What is Computed Tomography?
Computed Tomography (CT) scanning has been a fixture in the medical industry since the 1970s. It is an imaging technology that takes multiple X-rays of a subject along a rotating axis. The X-rays are caught by a detector (called a DR imaging panel), which is always positioned across from the X-ray generator with the subject between them. A computer processes the raw data yielded by the detector into an interpretable scan in a process called tomographic reconstruction. Each of these scans shows a cross-sectional view of the subject as if it had been cut through your chosen plane of section. This allows for a detailed look at the inside of the subject without physically harming it.
Computers can assemble all of the CT scans into a single 3D model, which is easily viewed and manipulated by technicians. Programs can measure specific features from the scan, such as voids or cracks, volumetrically and with a near-microscopic level of precision. One can see how beneficial this technology has been for doctors diagnosing everything from a tumor in the brain to a blockage in the circulatory system.
Developments in Our CT Capabilities
Recent developments in supporting technology (faster computers with greater processing power, increased sensitivity of DR panels, etc.) have made CT scanning practical for industrial use. This is an exciting development for our customers, allowing the benefits of CT to outpace its previous capabilities.
CT scanning, for instance, provides a far clearer image with greater detail than traditional radiography imaging. It also boasts added features such as producing a 3D model and displaying multiple views from different angles. CT scanning enjoys more versatility than regular 3D imaging. CT results show the interior of the test material for defect-measuring purposes while the former only shows surface details.
Industrial CT scanning is beloved by the inspection community for its many uses – one CT inspection can yield results for thickness measurements, defect analysis, failure analysis, and other tests.
Benefits and Highlights of Industrial CT Scanning
- CT scans parts with awkward and irregular shapes
- Impeccable detail for failure analysis
- Information from many images makes up a single model
- Precise enough to highlight the tiniest of structural defects
- 3D component models are a boon to metrology
- A non-destructive and practical method for measuring flaws in internal components
- Works well with additive manufacturing (3D printing) for defect analysis
- Compares models to detect flaws
- Part-to-CAD and P2P comparisons
- Converts 3D models to usable CAD data
- Eliminates the need to build models from scratch
- Makes Reverse engineering easier
- Measures geometric dimensioning and tolerance (GD&T)
- 4D Imaging
- Creates a simulation of part working in a live-use scenario
- Examines stresses and forces exerted on components during operation
Now, the same diagnostic technology widely used in the medical field is available to aerospace companies looking for voids in critical parts and manufacturing corporations seeking analysis services in the wake of a product failure. Industrial CT scanning services are being offered by few inspection companies at the moment, which is why it is notable that Applied Technical Services, LLC has added CT scanning to its already long list of services rendered.
ATS’ CT Inspection Services
For over 50 years, ATS has provided engineering services to clients from a variety of industries. Our talented and certified engineers are dedicated to providing insightful analysis of the critical equipment that keeps our clients’ businesses running. Industrial CT scanning, with its medical origins and powerful imaging capabilities, has better enabled us to serve our clients’ needs with surgical precision.
Allow us to give your products a clean bill of health with our industry-leading CT scanning tools:
- Zeiss Metrotom 1500, with a 225kV micro-focus
- Annual A2LA calibration
- Certified to accuracy within 4.5 microns
- Chamber fits specimens up to 11.75 in (300mm) in diameter x 23.6 in (600mm) high. 50 kg (110 lb) weight limit.
- Northstar Imaging X5000
- Minifocus 450kV X-ray projector (0.016” Focal spot at 3mA)
- Dual energy capability with 225kV Microfocus X-ray Machine
- Can achieve focal size as low as 0.0002” (based on voltage)
- Multi-Axis Manipulator (x, z, tilt, rotation), capable of supporting max 250 lb
- Resolution of manipulator angle is 0.001°
- Capture elongated subjects unable to fit within a single exposure by scanning with a spiral acquisition
- Minifocus 450kV X-ray projector (0.016” Focal spot at 3mA)
Contact Us
Call +1 (888) 287-5227 to speak with a representative about our capabilities today. To request an industrial CT scan, call or complete this webform and let ATS take a closer look.


