Modern Problems Require Modern Solutions
Additive manufacturing (AM) is changing the way we make products. No longer bound by the limitations of older methods, manufacturers can produce components with complex internal geometries unachievable through casting, forming, machining, or molding. Subsurface channels, grooves, and lattice structures provide AM components with a variety of benefits — from reducing weight to allowing coolant flow.
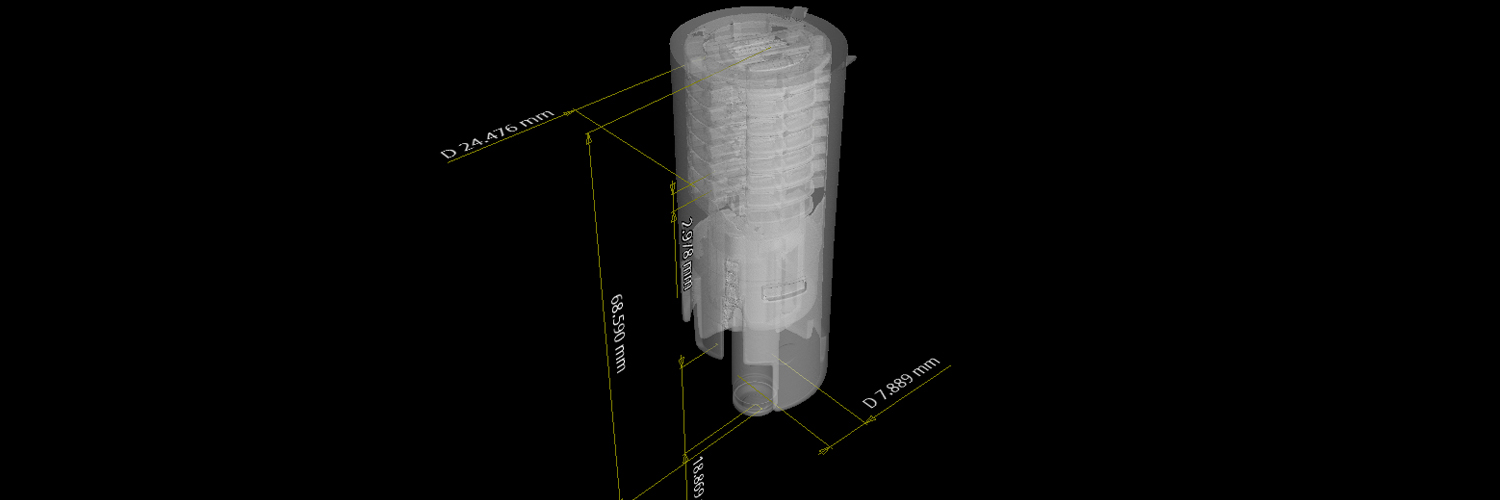
Utilizing these advancements also requires new testing methods, as validating AM production processes using methods like geometric dimensioning and tolerancing requires destructive procedures to take internal measurements. Because cutting an AM component open for analysis can affect its geometry, even this solution proves insufficient. Computed tomography (CT) is an advanced noninvasive imaging technology pioneered by the medical field that can handily answer the dimensional inspection needs of our AM clients.
ATS CT Capabilities
CT captures a wide variety of features in fine detail, allowing our dimensional analysis specialists to take measurements from the resulting scans. The method works by capturing thousands of radiographic images of the subject from every conceivable angle, rotating and moving it to expose different orientations to the beam of an X-ray emitter. Collating these distinct images into a voxel-based point cloud allows our expert technicians to convert it into a CAD-friendly 3D image that displays every surface — both internal and external — with microscopic precision.
One of the challenges inherent to AM is developing inspection methods to gauge components’ strength, utility, and robustness. Sometimes, manufacturing processes can leave AM parts with sizeable voids that affect their functionality when placed under certain loads or stresses. While conventional metallurgy allows technicians to assess the microstructure of a small section of a bisected component, CT proves the ideal method for a more generalized search or when the part must remain intact.
Our instrumentation gives us the precision to detect flaws and features as small as 4.5 microns, a scale much finer than most components require for GD&T. This degree of sensitivity makes CT appropriate for several applications supporting additive manufacturing, including:
- Dimensional Analysis
- GD&T
- Flaw Detection
- Reverse Engineering
- Finite Element Analysis
Learn More
Learn all the different ways our CT division supports the additive manufacturing industry at RAPID+tct 2021 in Chicago, September 13–15. We’ll see you at booth E8923!
