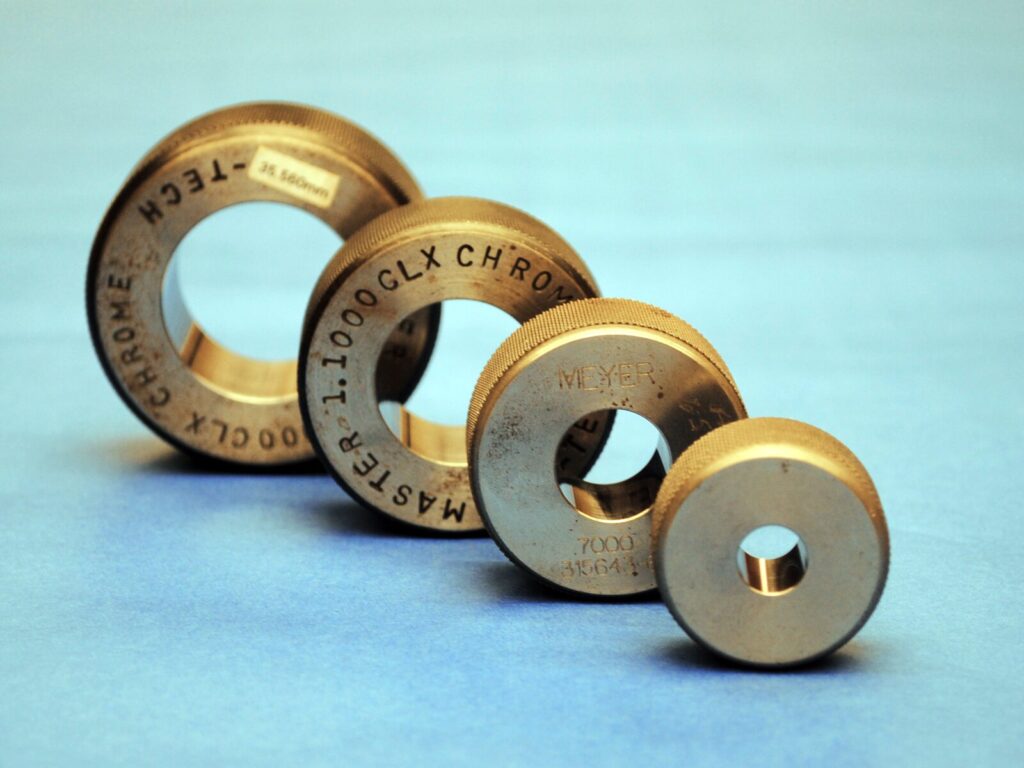
Cylindrical ring gage calibration is a critical process for anyone looking to use these pieces of equipment in their inspection services. They can be used as Go/No-go gages to inspect the outside diameter of a rod or shaft. The United States manufactures cylindrical ring gages per ASME B89.1.6. The ATS calibration lab can handle X, XX, XXX, Y, Z, and ZZ tolerances as well as any customer tolerances.
ATS Standards Lab
The Standards Calibration lab is an environmentally controlled room set at 68° F with a +/- 1-degree variance. We also keep this room humidity controlled at 30-55% resting humidity. All gages are cleaned and set in the room to stabilize at temperature for a minimum of 24 hours before testing to ensure accurate readings.
ATS Quality Assurance
All calibration records and results are available online 24/7 for your convenience. At ATS, we are committed to quality assurance by holding the following certifications, registrations, and accreditations: ISO 9001:2015, ISO/IEC 17025, 10 CFR 50 – Appendix B, ANSI/NCSL Z540-1, ASME NQA-1, and 10 CFR Part 21.
Contact Applied Technical Services for any inquiries on cylindrical ring gage calibration.


